Installing A Power Supply in Your Pc – Everything You Need to Know
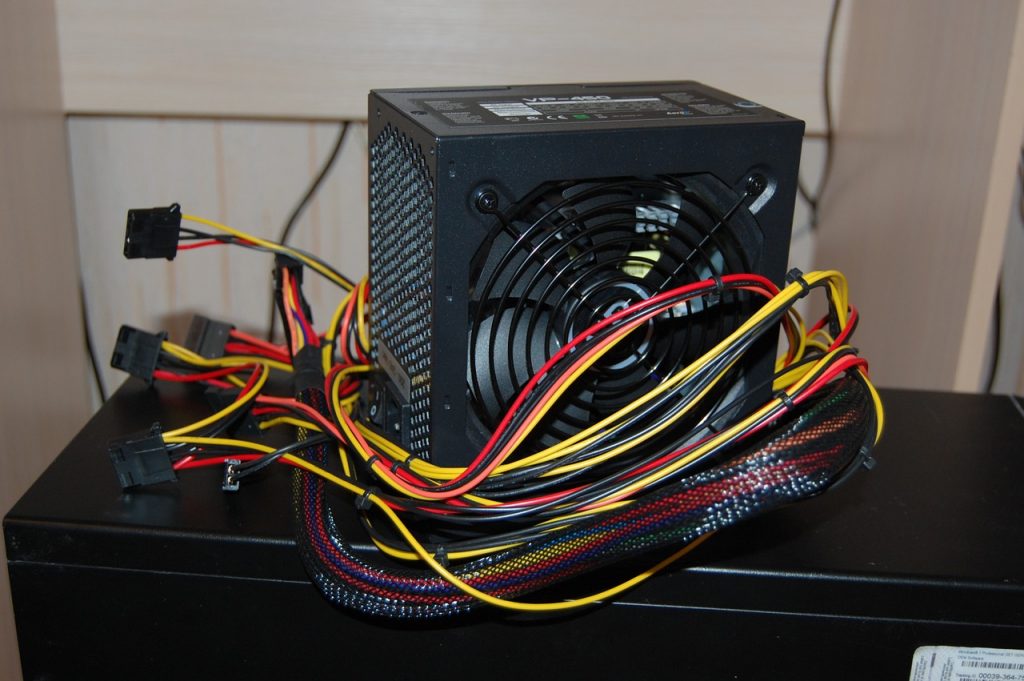
A power supply unit (PSU) is a vital device that supplies your other PC components with the energy they need to run. You can purchase one from any reputable seller, for example, RS Components.
If you’re building your own PC to save money and time for your business—or simply to learn a new skill—you’ll want to know how to install your power supply properly and securely.
In this article, we’ll walk you through every step involved in installing a new power supply PC.
How Do You Know When You Need an Upgrade?
Often, pre-built PCs will come with a cheap power supply that barely meets warranty requirements. These power supplies will work well for a few years—but once that time has passed, you might notice your PC suddenly won’t turn on.
You might also come across issues if you try to upgrade another component, such as your graphics card, without upgrading your power supply to suit.
To avoid these problems—which can waste your time and tank your business’s productivity—you should make sure your PC’s power supply is made to last.
Now, let’s dive into how to install a new power supply in your PC.
How to Remove Your Old Power Supply?
To remove your old power supply, you’ll need a Phillips-head screwdriver and a pair of protective gloves.
To start, unplug your computer from the power entirely. Make sure all cables and cords are unplugged. If applicable, turn off the power supply switch at the back of your PC.
You’ll then need to remove your PC’s side panel so you can access the internal components. Begin removing the power supply by unplugging the various connectors stemming from the unit. It helps to take a photo of the cables so you can remember where to plug them back in when you install your new supply.
Next, remove the screws holding your power supply in place, and gently pull the unit out.
How to Install Your New Power supply?
Now you’re ready to install your new power supply. It’s as simple as reversing the steps you took to remove the old unit.
Take your new power supply and insert it into the position where your old supply used to sit.
The supply should come with screws, allowing you to securely attach it to the case’s rear panel—make sure to follow the instructions provided with your new device.
Next, feed the required cables behind the motherboard. It’s time to start plugging your connectors in.
Begin by plugging the 24-pin connector into the motherboard, followed by the 8 or 4-pin CPU connector. Next, plug in your optical drives, hard drives, and SSDs as required. If applicable, finish by plugging in any PCI-E connectors into your GPU. Make sure all connectors are plugged in safely and securely.
You can now use the photos you took when you uninstalled your old PSU to plug in the cables correctly.
It’s now time to close up the case, plug the PC back in, and turn on the power supply switch. Your new system is now ready to go!
Conclusion
Installing a new PC power supply is a simple task. By following our instructions, you can prepare your PC and your business for the ever-changing technological future.